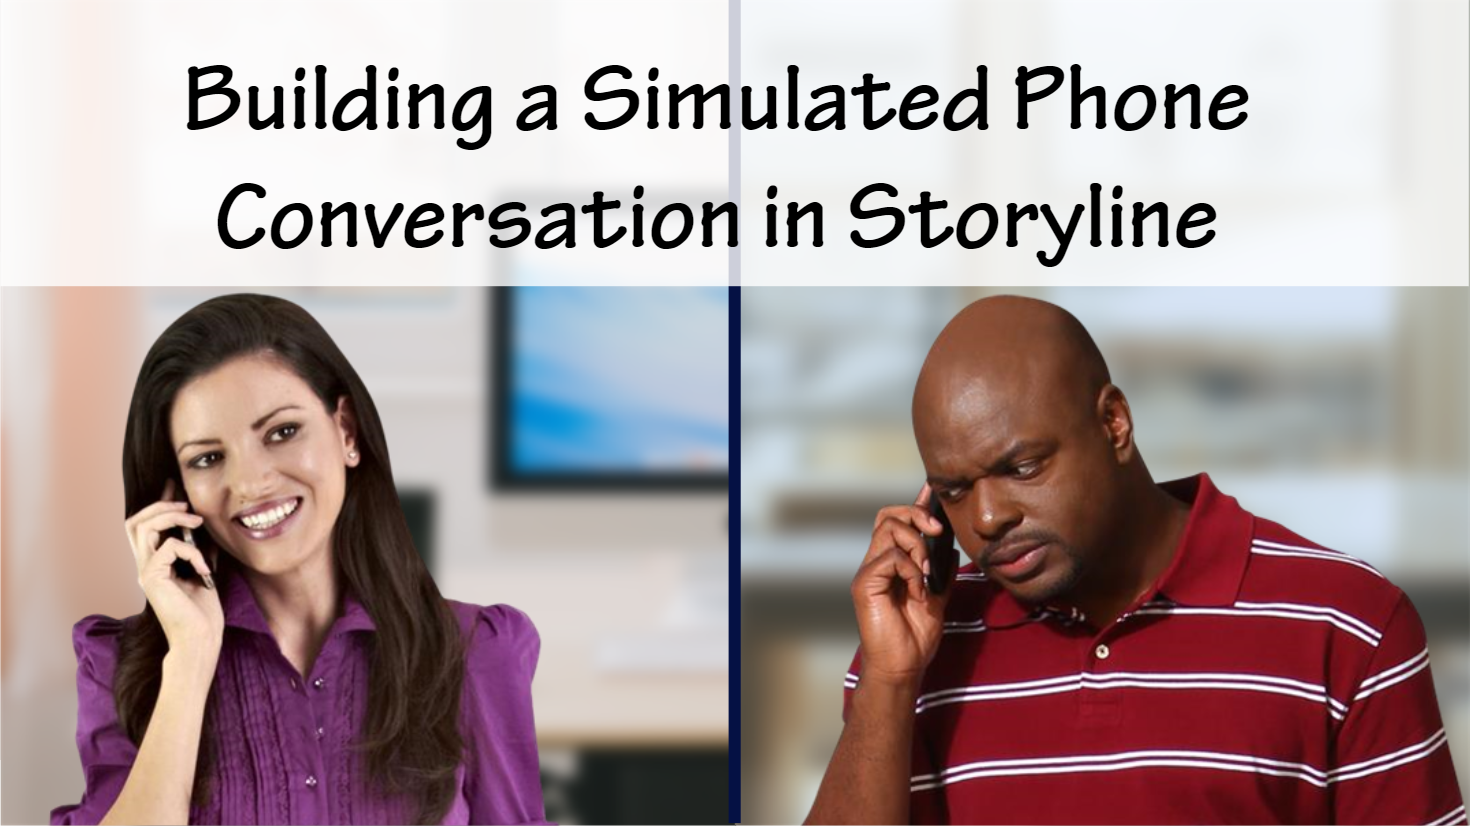
Building a Simulated Phone Conversation in Storyline
This is how I built a simulated phone conversation in Articulate Storyline as part of a branching scenario.
In my last post on creating layouts for a branching scenario, I identified a need to build some long phone conversations. These are basically like a “cutscene” that shares additional information between the decision points. The conversations include some back and forth between the two characters, Sophie and Robert.
Side-by-side Layout
When I created the layouts, I had two options for the long phone conversations: one with the two characters side-by-side and one with a comic book style layout. I decided to work on the side-by-side option first.

Create the Background as a Slide Master
The first step was to create a slide master with the background. This has the two blurred pictures I identified earlier. I also decided to add a thick line in the middle to divide it more clearly. I want the pictures to show these are two different locations without making people focus on the details of those settings too much. I also added some guide lines to help me line up the characters and conversation bubbles.

Build the First Part of the Conversation
Here’s the text from my prototype in Twine.
Sophie thinks these responses all seem reasonable, so she sends Robert a link to her calendar so he can schedule a meeting.
Sophie starts by summarizing her understanding of the problem Robert is facing and asking him to confirm.
Robert says, “Yes, that’s right. Our existing classroom training is good, but it’s just too time consuming and expensive to fly everyone in from all over the country for on site training. We want to move to online training to reduce those travel costs. We also want to convert these to shorter modules so they don’t disrupt people’s work days for so long.”
What should Sophie ask next?
[[How long do you want the modules to be?]]
[[Tell me about what changed that made you realize you need to move to online training.]]
[[What level elearning do you want?|Ask Robert what level of elearning he wants.]]
I started with the first part of this conversation. I’m skipping the first paragraph for now; I’ll come back to that transition later.
I created a layer called “1” and added the two characters. Since the very first part of the conversation is summarized rather than shown as dialog, I leave that as a text box. Robert’s dialog goes in a conversation bubble. I also added a continue button with a trigger to show layer 2.

Continue the Conversation
Robert’s paragraph of dialogue is too long to fit into that conversation bubble. I could change the layout to create a larger conversation bubble or decrease the font size, but that amount of text feels like a good place to break.
I duplicated the first layer and renamed the new layer “2.” I changed the poses for both characters and added the rest of Robert’s paragraph. The continue button shows layer 3.

Add Decisions
Next comes the decision point. While I considered putting these decisions on a new slide, I chose to add this as a new layer 3 instead. Either way would work fine, but I decided to aim for fewer total slides.
In this layer, I have three buttons for the three choices. Each of these jumps to a different slide. For right now, I’m just using placeholders for those choices.

Add a Transition
This conversation had a transition at the beginning, moving from the initial email contact into a phone conversation. That transition isn’t really part of the conversation, as it doesn’t happen on the phone. I could show this as an email for more realism rather than describing the action, but I don’t feel like this is such an important point that I need to emphasize it. I want to speed up the action and get to the meatier conversation.
Therefore, I added a new layer called Transition with a text message and a continue button that shows layer 1. On the base layer for the slide (which is empty), I added a slide trigger to show the Transition layer when the timeline starts. I can’t put this transition on the base layer because it would show up behind the conversation.

Reviewing the Layers
Here’s what the final layers look like in Storyline: a base layer, transition, 2 conversation layers, and a decision layer.

Review and Evaluate the Conversation
You can view the functional conversation. Note that once you make a choice on layer 3, you’ll see my placeholder slides where I haven’t built anything yet. I didn’t build a restart button into this sample. If you want to try it again, just reload the page in your browser.
After testing it out, I was overall happy with this conversation. I realized I should have built Previous buttons to let people go back and review the conversation, rather than forcing them to only go forward. I’m at a 14 point font for the text in the conversation bubbles, which is about as small as I want to go. I might decide to move the characters down further to make the conversation bubbles larger to accommodate 16 point text.
After building this out, I think I will stick with this side-by-side version rather than trying to do a comic book style with multiple panels on a single slide. I think I would end up with too much small text if I tried to show more of the conversation at once.
Branching Scenario Process
I’m going to keep working on building this scenario based on the text in Twine and the layouts in PowerPoint. In the next post, I’ll talk more about building the scenario and decisions.
Read the previous posts to see my process for creating this scenario.
- How to Get Started Writing a Branching Scenario
- Planning a Branching Scenario
- What to Write First in a Branching Scenario
- Writing Mistakes and Consequences
- Branching Scenario Prototype in Twine
- Creating Branching Scenario Layouts
As always, wonderful work and practical advice, Christy! I love this blog; thanks for your willingness to share your passion and expertise. I’ll be launching my own elearning freelance business in November 2020. Your site is a boon of resources for those of us taking the leap!
I’ve been going crazy looking for a link to another freelancer you featured on your site; she has a really great e-learning course idea generator. I cannot find it! Can you tell me her name or point me in the direction of her site?
Thanks!
Hmm…was it in relation to ideas for portfolios? Maybe something in Kristin Anthony’s free course on creating portfolios?
Otherwise maybe one of Connie Malamed’s resources for learning experience designers?
If it’s not either of those, can you give me any more details on what you remember?